

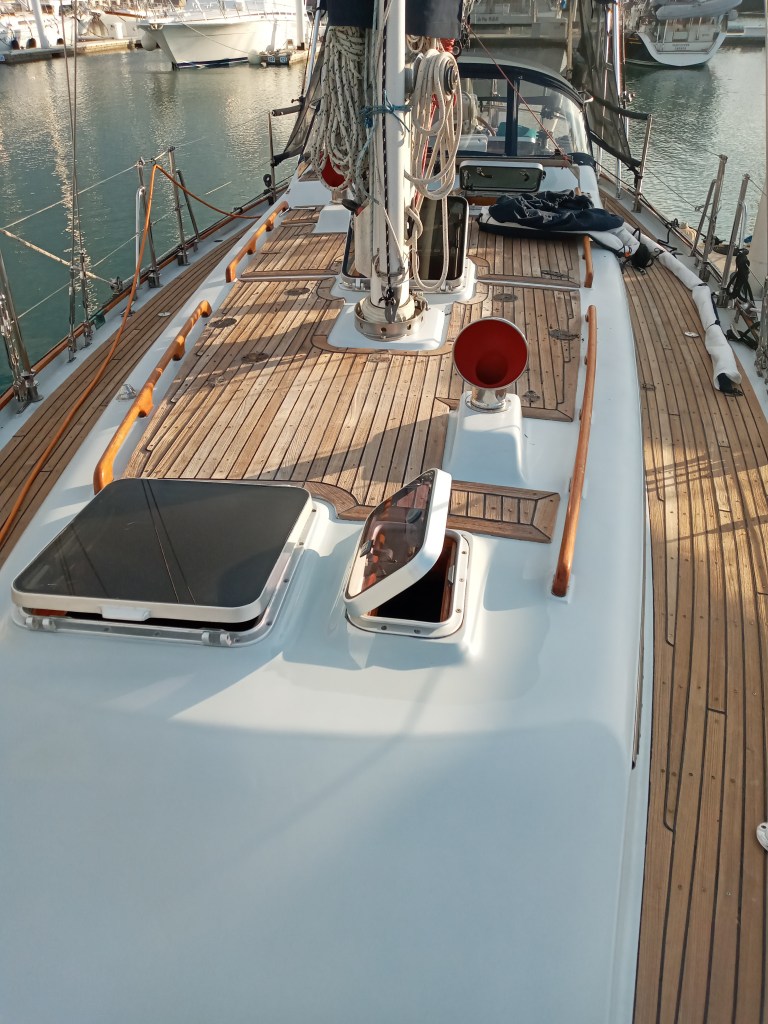
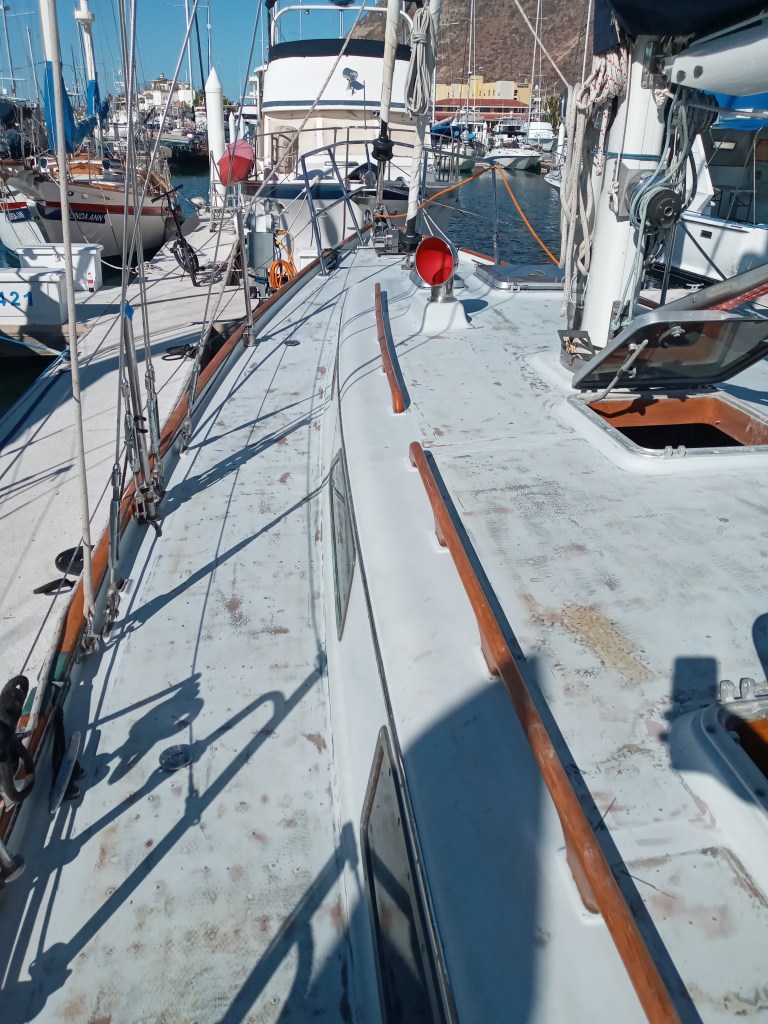
We loved the teak decks on Boundless, They were one of the things that attracted us to the boat originally (esthetically), but we always knew they were nearing the end of their useful life, and were a project just waiting to happen. With the uncertainty of whether we would be able to travel south of Mexico this year due to the pandemic restrictions, we decided to spend a couple of months in La Paz to complete the deck refurbishment, as well as chainplates replacement, and a couple of other projects.
Here documents the process for the deck removal and replacement. We hired Chava, recommended to us by a few cruisers to do the work. An advantage of working with Chava, and having the boat at Palmira Marina, was that did not need to haul the boat. It would be completed at the dock. Chava and his team were a total pleasure to work with. He went way beyond the original scope to ensure we were happy with the result.
We had some debate about the product we were going to use on the deck. The preference would have been for Treadmaster, but expense and time delays in getting it meant we opted for Kiwigrip. Although it is a one-part finish, We think it looks better that a two-part paint with a non-stick additive, and we also like that we will be able to repair it easily if we damage it at any point.
Although the teak looks to be in fairly good shape, up close there were about half the screws that had lost their original teak bungs, many of which had been filled with epoxy at some time.
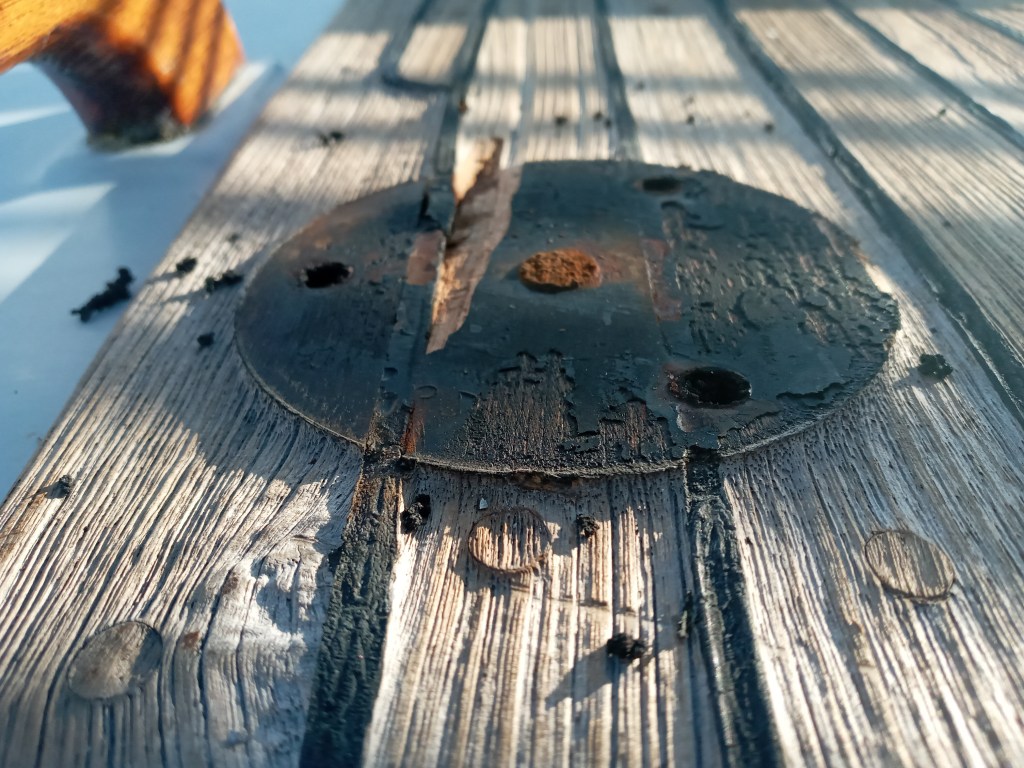
This shows the extent of wear on the deck. This is actually from where one of the ‘granny bars’ had been removed and was therefore a lower traffic area, being on the cabin top, and not on the side decks.

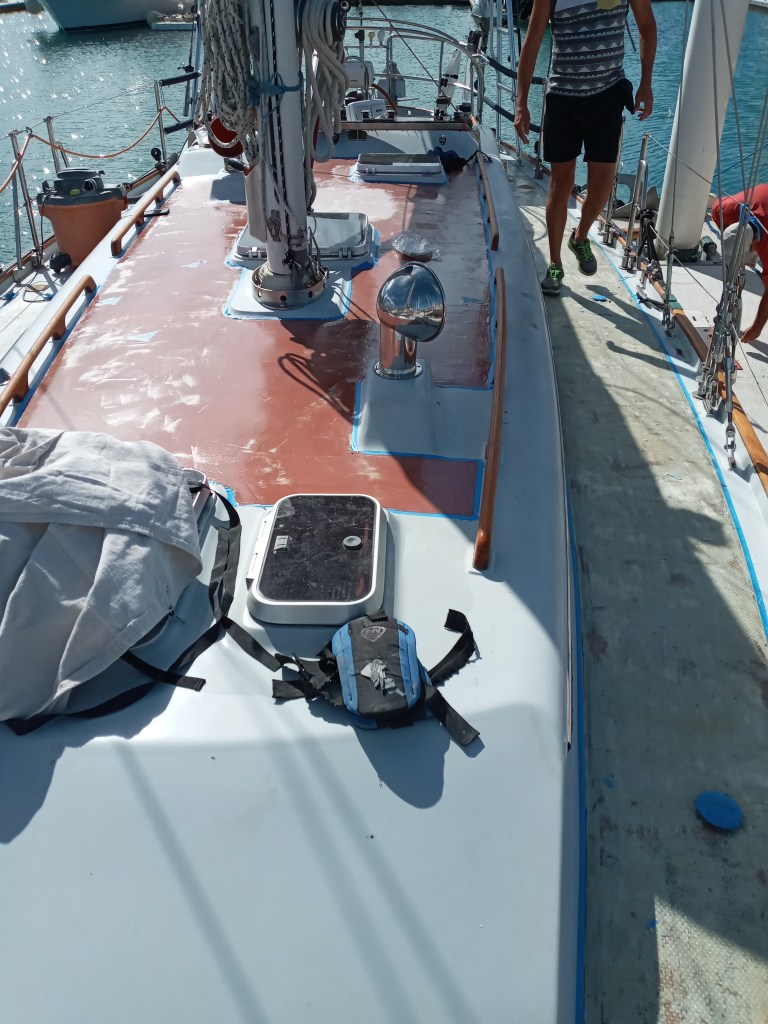
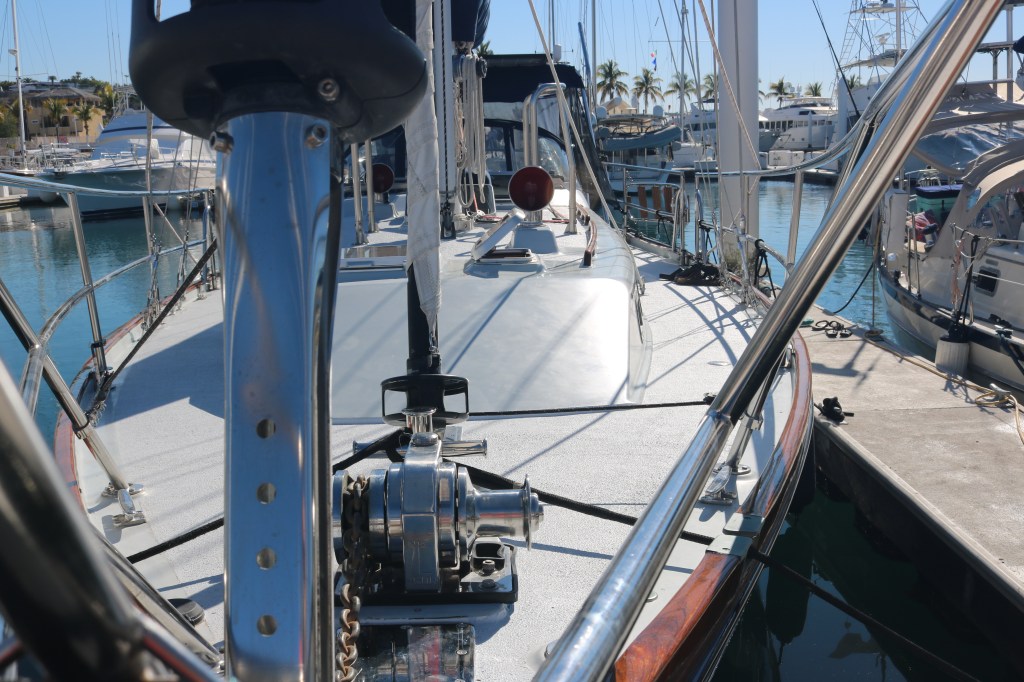
To prepare for Chava and his guys to start, we removed all of the fittings on the deck. Fortunately, on Boundless there were not many, and in particular, the stanchions and handrails do not pass through the teak decks. It can be a real challenge to deal with this on other boats.
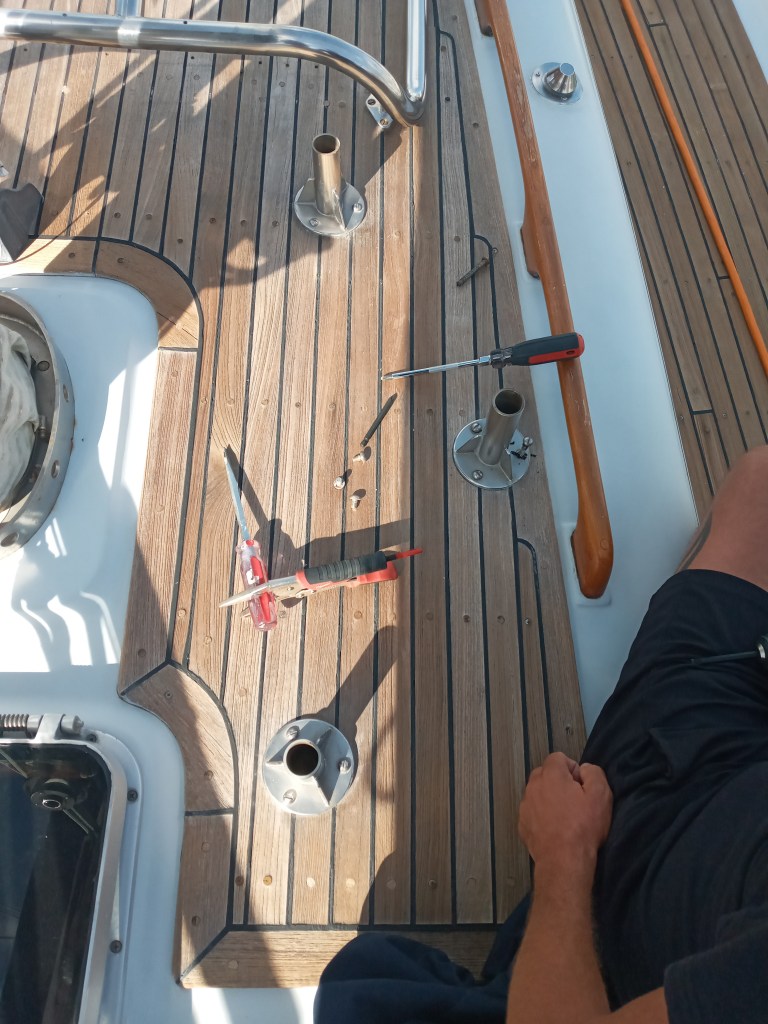
Some of the bolts passing through the deck meet up with nuts that are glassed into the underneath the cabin top, such as the ones for the granny bars, so we are wanting to keep these open to use for re-fixing the fittings on the new, painted, deck.
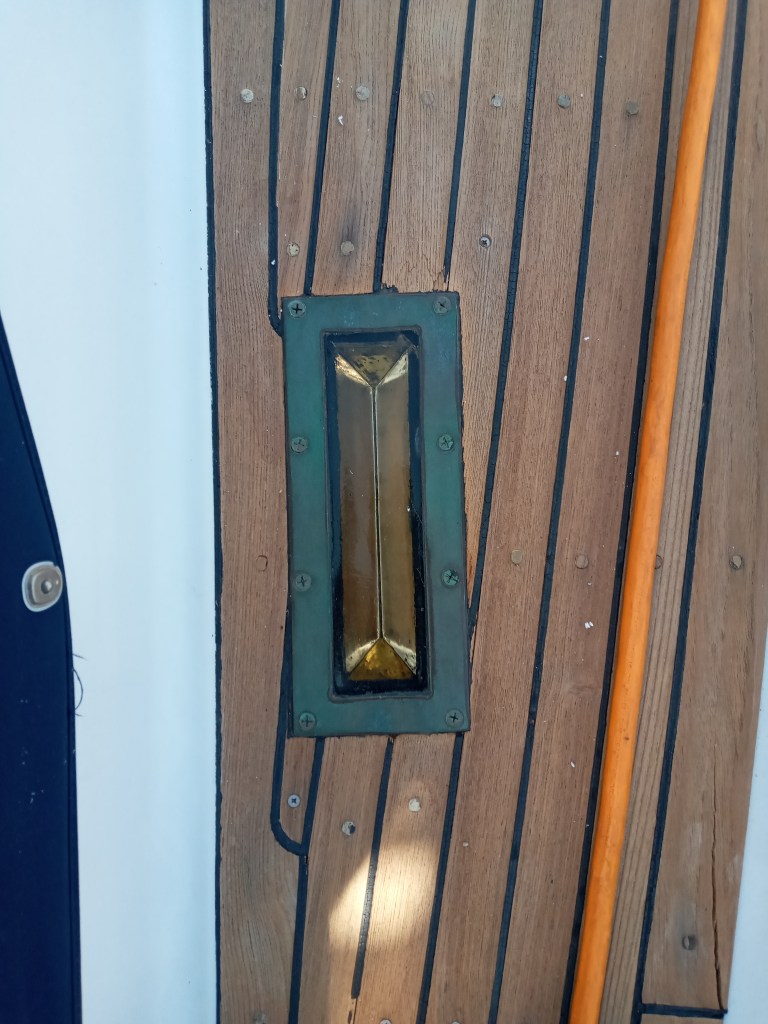
There were four deck prisms on the deck. One over the forward bunk, and one over the chart table, and we are going to retain these two. We are however going to remove the ones either side of the cockpit combing, over the aft bunk and the pilot berth. These two are of little value below, and are located in high traffic areas. They get extremely hot in the sun and are unpleasant to walk on.
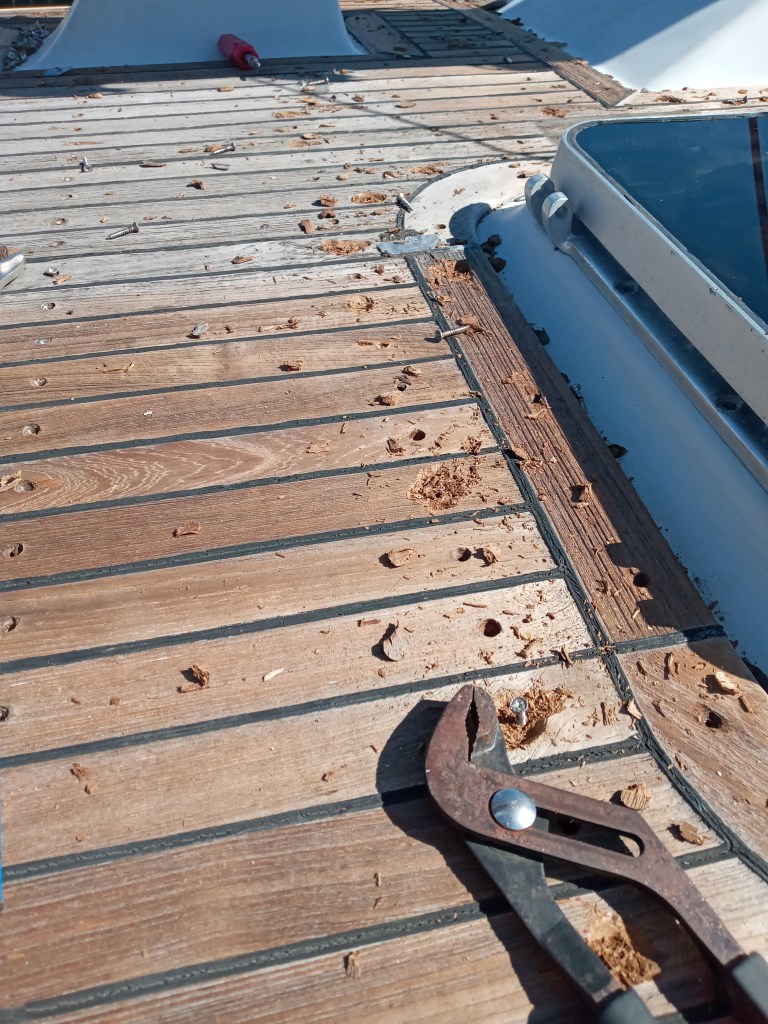
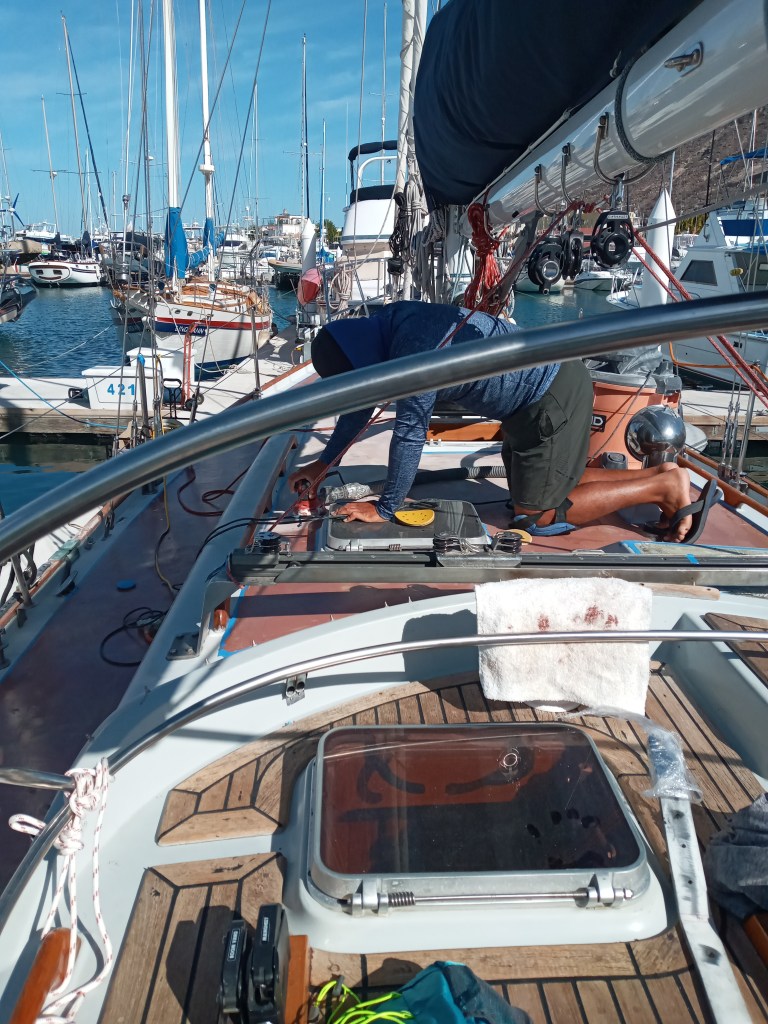
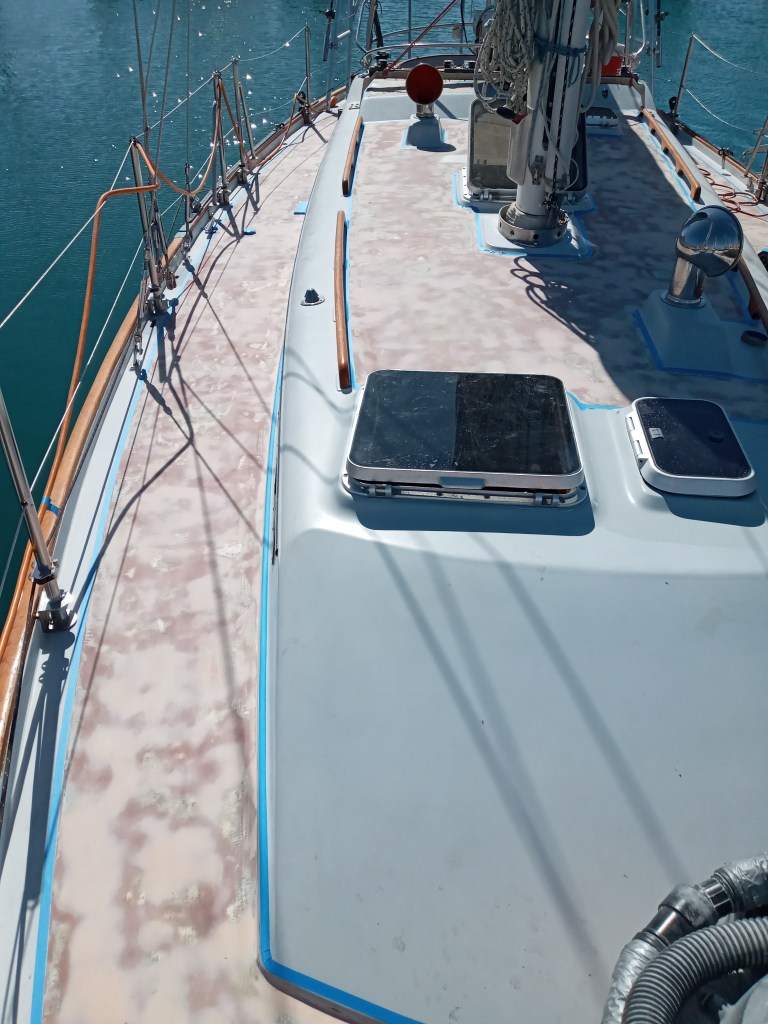
First step, remove all of the screws – there are just under 1,000 in total.
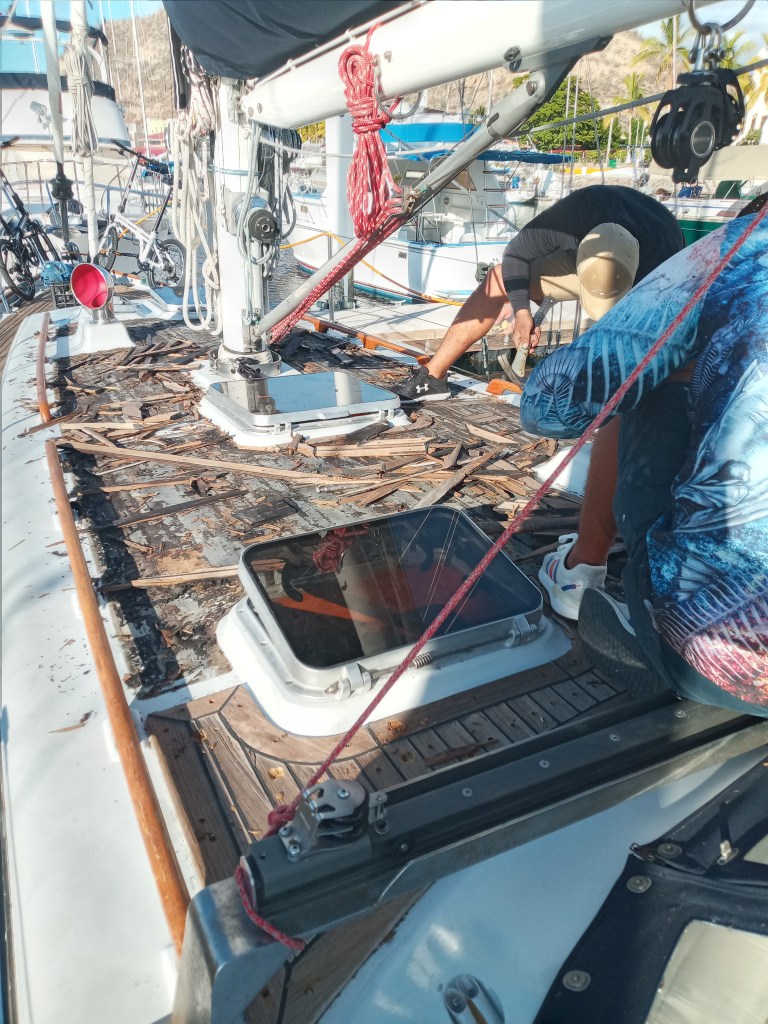
Then remove all the teak, being careful not to damage any of the gelcoat, around the exact area to receive Kiwigrip later. We do not want to have to paint the existing gelcoat finish.

The Teak came away relatively easily.

The teak removed, are ready to clean off and sand any remaining adhesive.
After cleaning the sealant and a light sand, the deck appeared in remarkably good shape. We could not find any soft areas, or areas that showed any damage from water ingress.
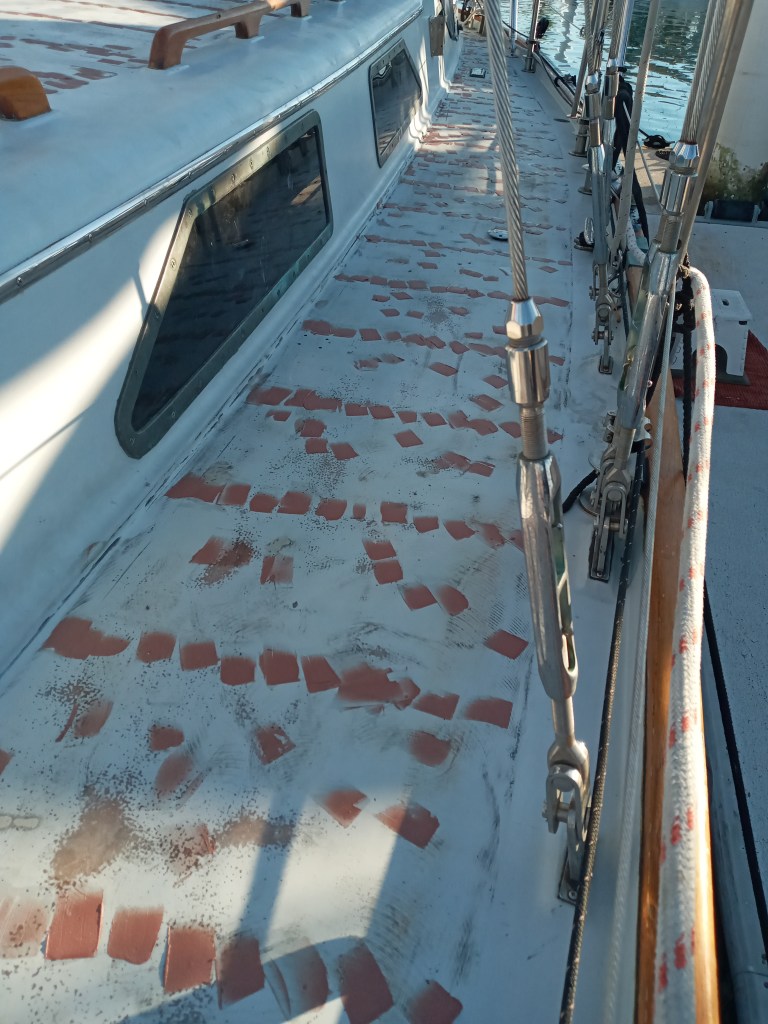
All of those 900+ screw holes were filled with epoxy filler.
And after sanding.
Looking good, and this could well have been ready for the Kiwigrip at this point.
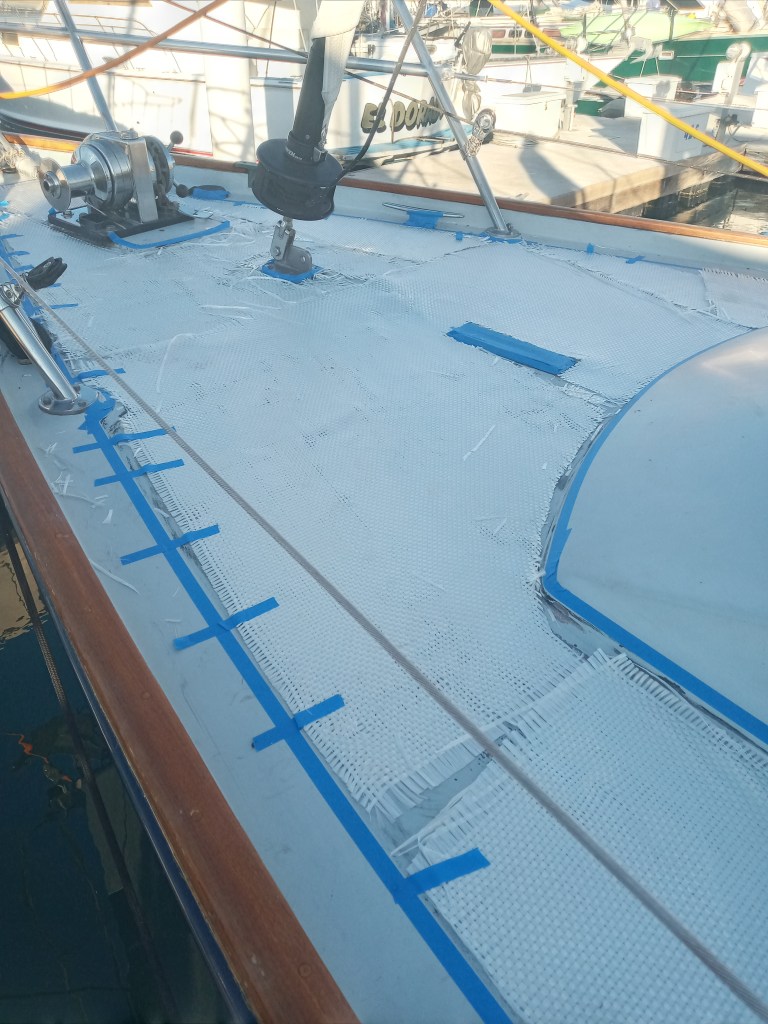
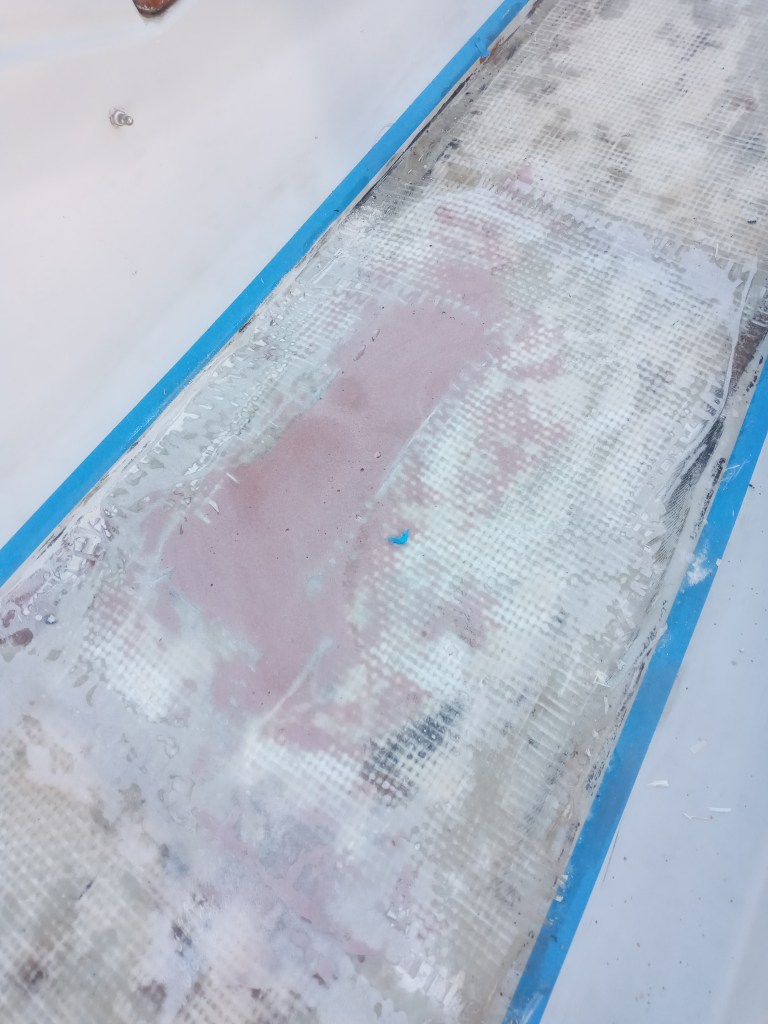
We wanted to make sure that a) the deck was as strong as possible, and b) there did not just rely on the epoxy filler to keep water out of the 900+ holes made by the old screws, so we are going with a thick layer of fiberglass mat over the entire areas where the teak used to be. Here is a layer of mat cut and laid.
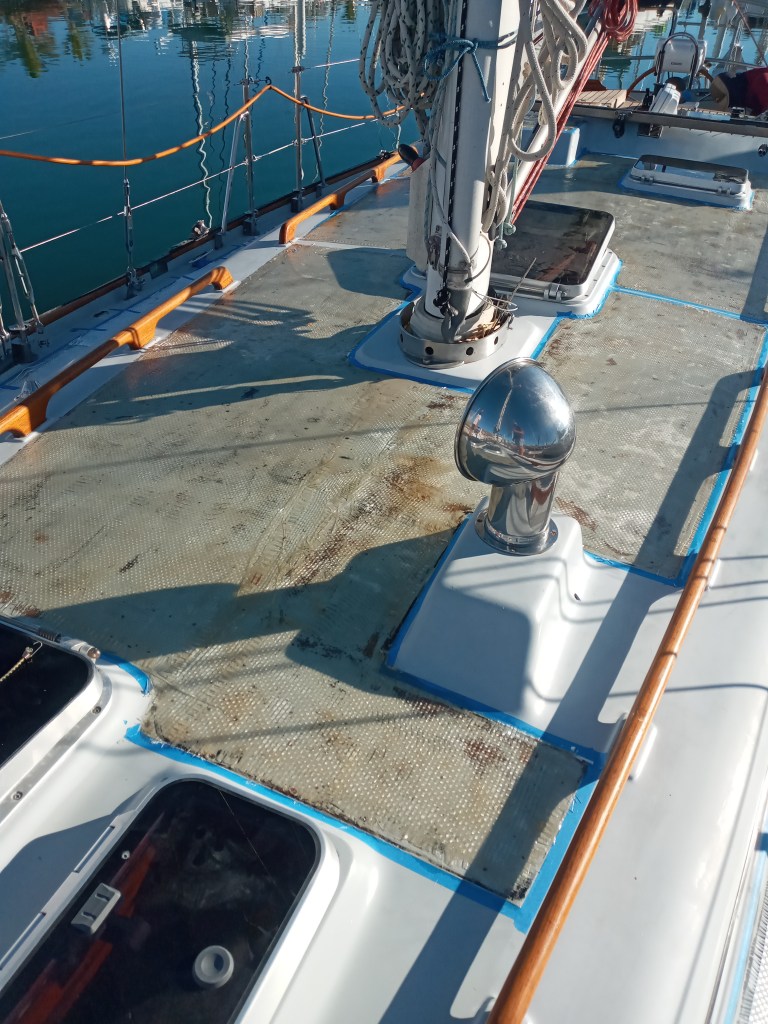
This is the mat after the application of the West System epoxy resin. Super strong!
This layer of fiberglass was then sanded and coated with a layer of West System with filler additive for fairing.
Here you can see where one of the aft deck prisms was removed and filled. it was subsequently glassed over with mat.
The first layer of filler over the entire deck.
This layer was then sanded back.

A second layer of fairing compound (a lighter color) was applied.
Once sanded, the deck is ready for primer.
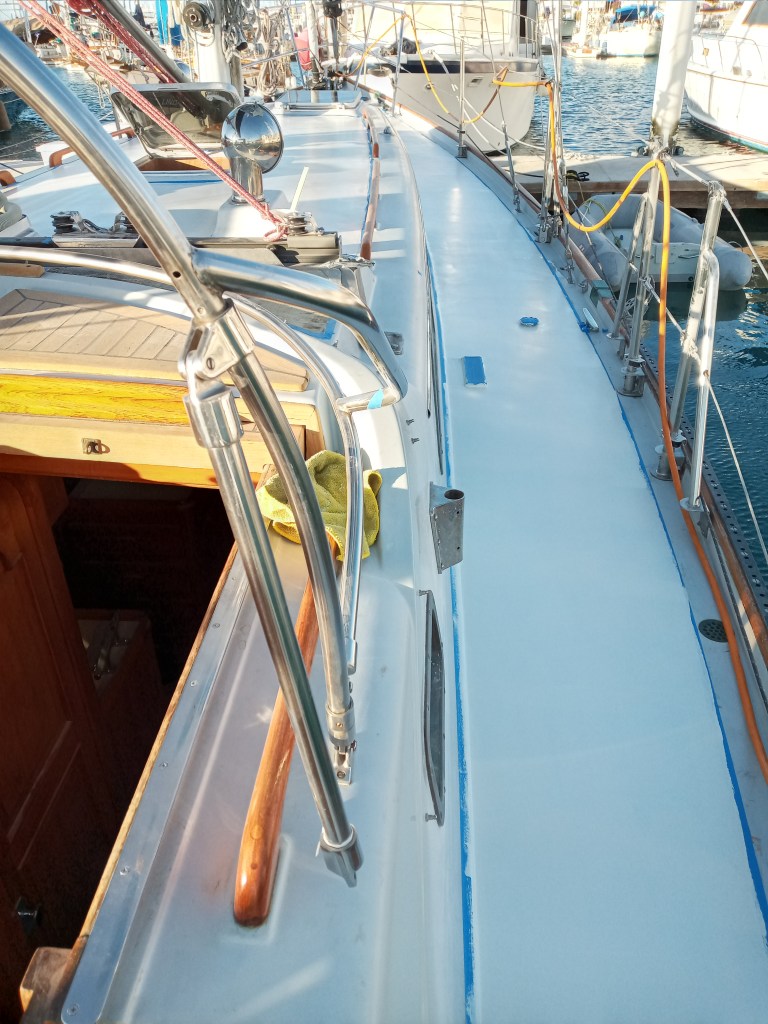
Two coats of two-part primer rolled onto the deck.
Ready for KiwiGrip finish.


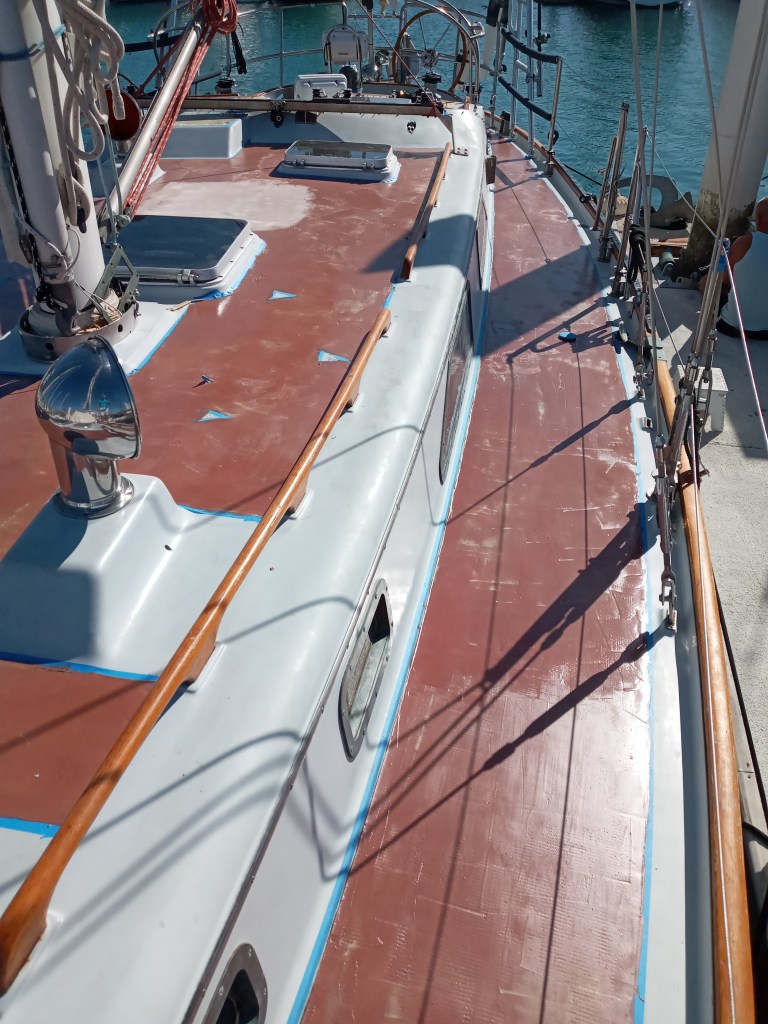
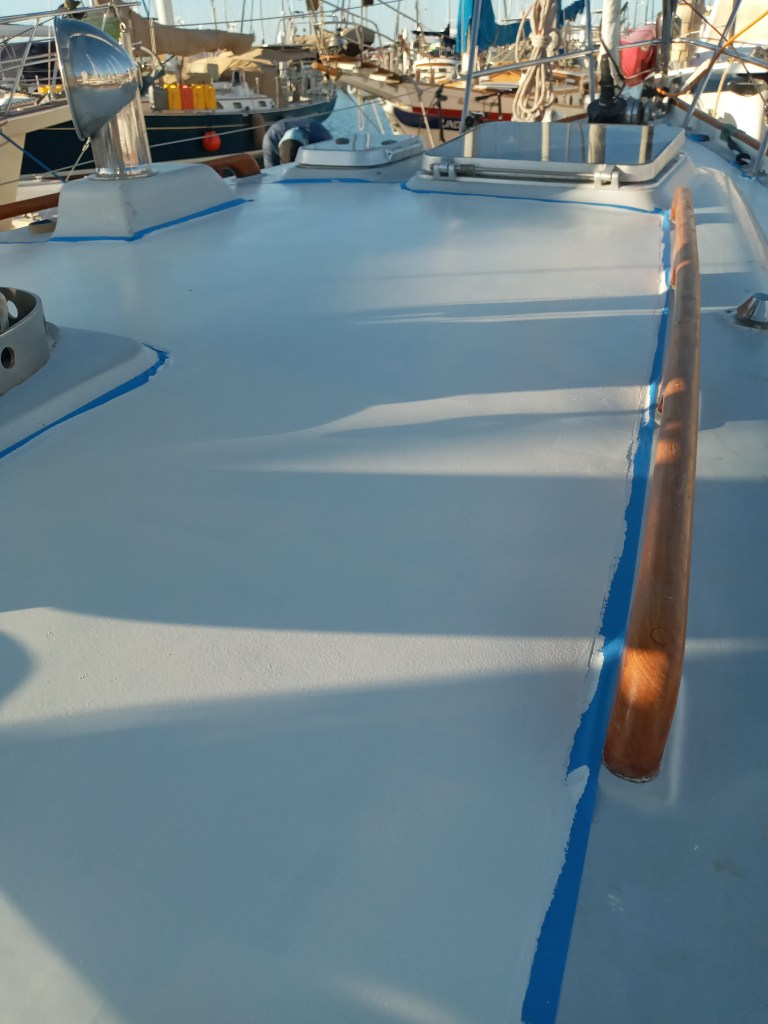
Painting on the KiwiGrip ‘Light Grey’. The color is just slightly lighter than the original gelcoat color.

The deck fully painted, ready for all the surrounding areas to be cleaned.
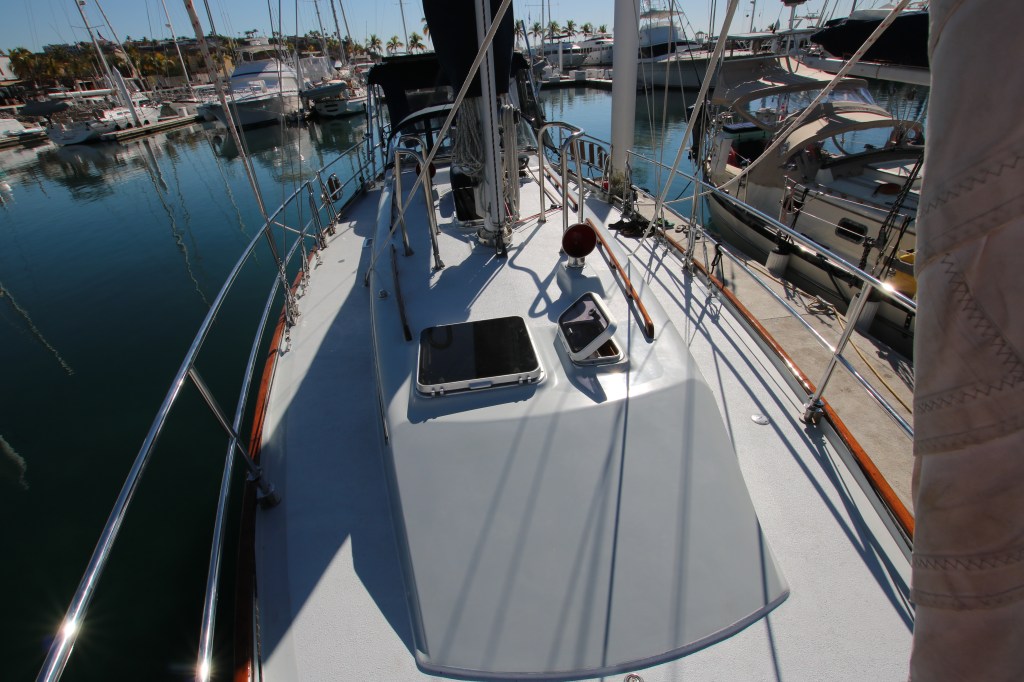
We are extremely pleased with the final result. The KiwiGrip feels solid under foot and the boat just feels more contemporary, much cleaner, and easier to keep clean.

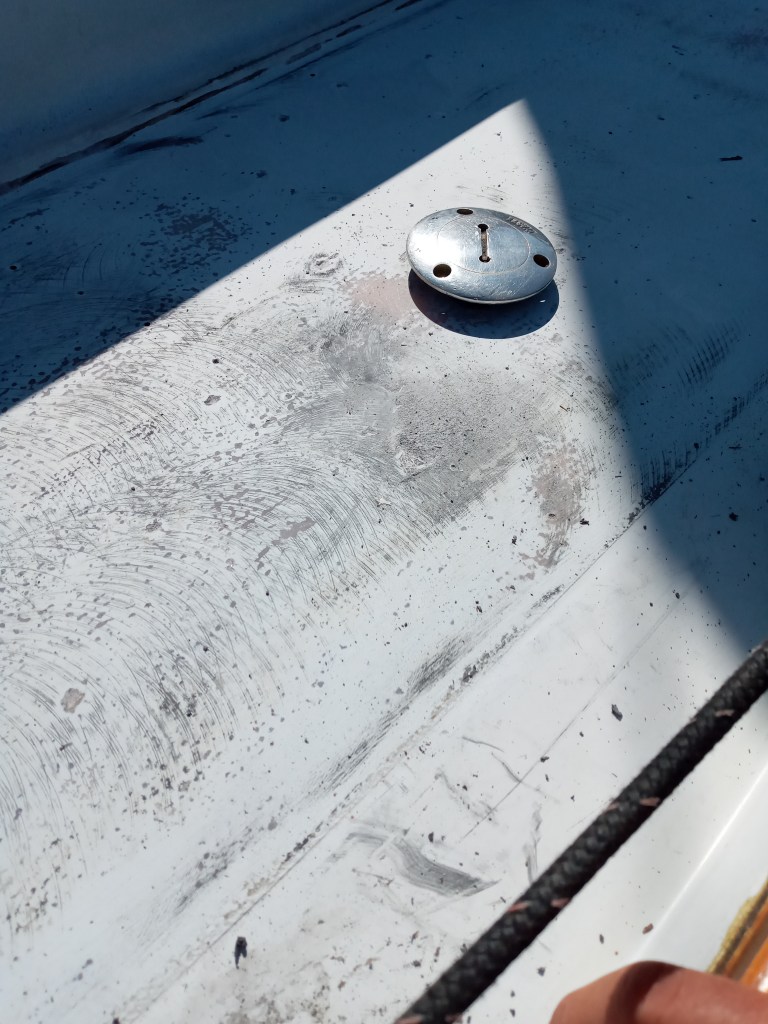
Curious as to whether you need to do anything about the height of objects on the deck, such as the tank fill ports and the prisms. Aren’t they sitting proud of the new deck surface with the teak gone?
LikeLiked by 1 person
Hi Ken. Yes, we need to push the deck fills down to meet the new lower surface of the deck. With respect to the prisms, we removed the two aft ones and are keeping the ones over the nav desk and the forward bunk, and are having new stainless steel surrounds made for these. They will sit proud of the deck.
Fortunately, on the Passport 42 there were relatively few fitting actually going through the teak decks. It can be a challenge on boats where the stanchions and cleats, windlass, etc. are mounted over teak, but this is not an issue on the Passport 42.
LikeLiked by 1 person